Jak zmontować powietrzną spręgę zawieszenia autobusu
I. Przygotowanie
Środki bezpieczeństwa: zaparkować autobus na płaskiej powierzchni.Odłączyć zasilanie i uwolnić sprężone powietrze z zbiornika powietrza.
II. Usunięcie starej źródła powietrza
Uwolnienie ciśnienia powietrza: Odłącz złącze węża powietrznego sprężyny powietrznej i zacisnij go szczypcami węża powietrznego, aby zapobiec wyciekom powietrza.
Usunięcie elementów montażowych: Usunięcie górnych i dolnych śrub/owoców montażowych sprężyny powietrznej (uwaga, że sprężyna może nadal mieć napięcie).Najpierw rozluźnij śruby siedzenia..
III. Instalacja nowej sprężyny powietrznej
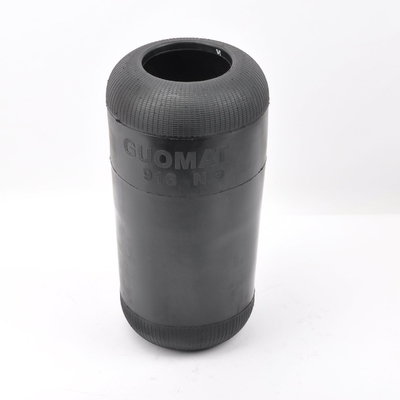
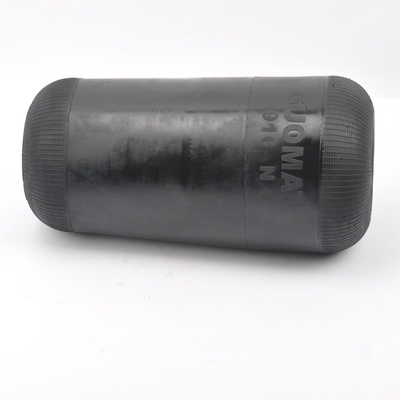
Pozycjonowanie i wyrównanie: Pozycjonowanie nowej sprężyny powietrznej w położeniu montażu, zapewniając, aby górne i dolne otwory zwojowe były wyrównane z ramą i ramieniem zawieszenia.Unikaj skręcania lub rozciągania węża powietrza.
Śruby zabezpieczające: najpierw ręcznie zacisnąć wszystkie śruby w celu zapewnienia prawidłowego zaangażowania nitki.wstrząsanie śrubami, aby uniknąć nierównomiernego obciążenia.
Podłączenie przewodu powietrza: podłączyć przewód powietrza, upewnić się, że pierścienie O i uszczelki są nietknięte, i nałożyć niewielką ilość tłuszczu, aby zapobiec wyciekom.
IV. Badanie i dostosowanie
Sprawdzenie nacisku i przecieków: uruchom silnik i napełnij system powietrza do ciśnienia roboczego (zwykle 5-8 barów).
Dostosowanie wysokości: Niektóre autobusy wymagają regulacji wysokości za pomocą czujnika lub ręcznego zaworu. W celu uzyskania standardowych wartości należy zapoznać się z instrukcją obsługi.
Badanie drogowe: badanie nieprawidłowego hałasu przy niskiej prędkości i sprawdzenie efektu amortyzacji.
V. Środki ostrożności
Przeciśnienie jest surowo zabronione: ciśnienie nacisku nie może przekraczać wartości kalibracji sprężyny.
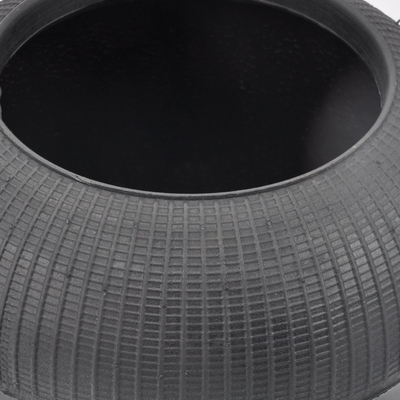
Regularna kontrola: Pęcherze gumowe są podatne na starzenie się; co sześć miesięcy sprawdzaj je pod kątem szczelin lub zużycia.
Profesjonalna obsługa: W przypadku zastosowania elektronicznych systemów sterowania (takich jak ECAS) wymagane jest specjalistyczne wyposażenie.
VI. Wspólne problemy
Wycieki powietrza: Wymiana uszczelnień lub zaciśnięcie przewodu powietrza.
Nierównomierna wysokość: sprawdź, czy nie występuje zablokowanie czujnika lub przewodu powietrza.
Nienormalny hałas: sprawdź, czy sprężyna jest prawidłowo zainstalowana i czy wnętrze nie jest zużyte.

 Twoja wiadomość musi mieć od 20 do 3000 znaków!